
Spring Wreath Step-By-Step Tutorial
March is here! We’ve finally made our way through the dark and wet months of January and February, there's a glimmer of sunshine in the evenings and daffodils are sprouting up everywhere you look! Spring is definitely on the way.
For all of you that have dusted off the gardening boots, braved the spring chill and made your way out of the house, you may be wanting a little bit of spring cheer to tidy up your front door. And what better way to do that than with a beautiful Spring wreath that will last all the way up until Easter!
I’m a firm believer that door wreaths are not just for Christmas! Wreaths have become popular home styling pieces that are seen all year round and Spring is such a lovely time to give your front door a refresh.
If you have purchased one of my Spring Wreath DIY kits, you can follow this tutorial as I walk you through step-by-step on how to create a gorgeous spring wreath using the materials in your kit. If you are following along at home, but you haven't purchased on of my DIY kits, you can still follow the tutorial using materials you have sourced from your garden or garden centres. There is a full list of the tools and materials you will need below.
The DIY Spring Wreath Kits can be purchased here and are available over the next few weeks!
What You’ll Need
If you haven't purchased a kit, you will need to source the following tools and materials. If you have purchased a kit, it will contain all of the following:
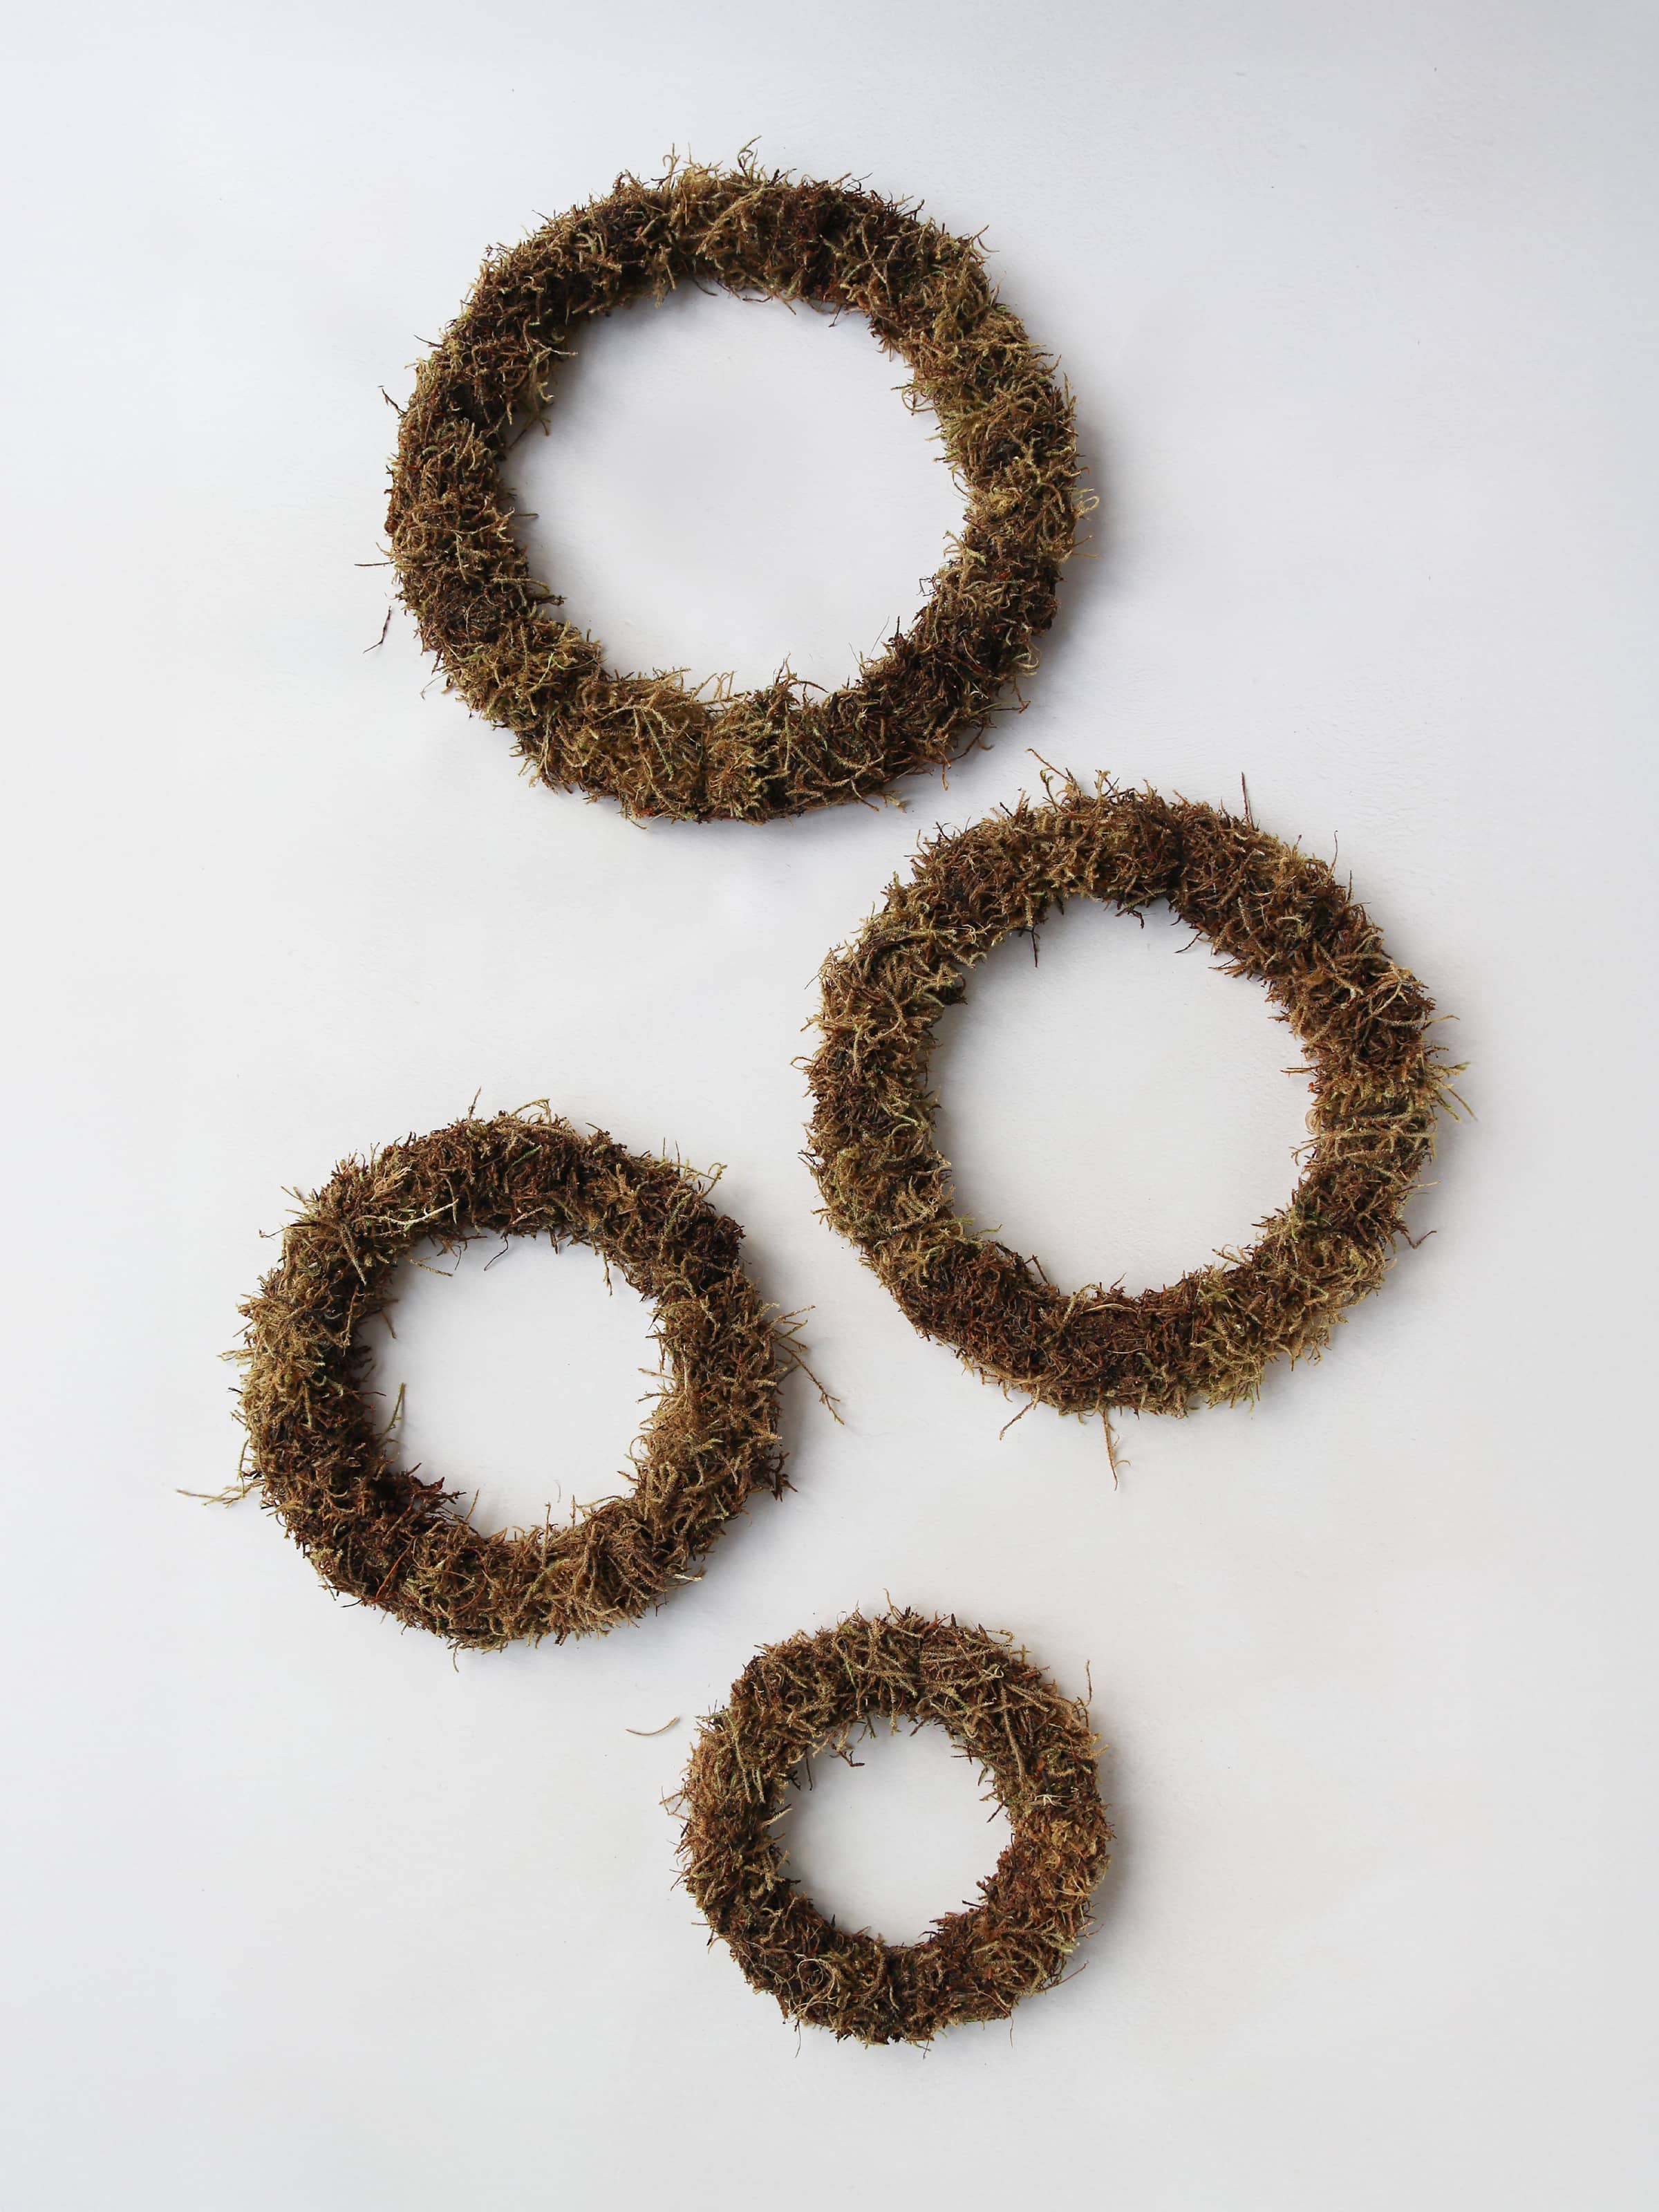
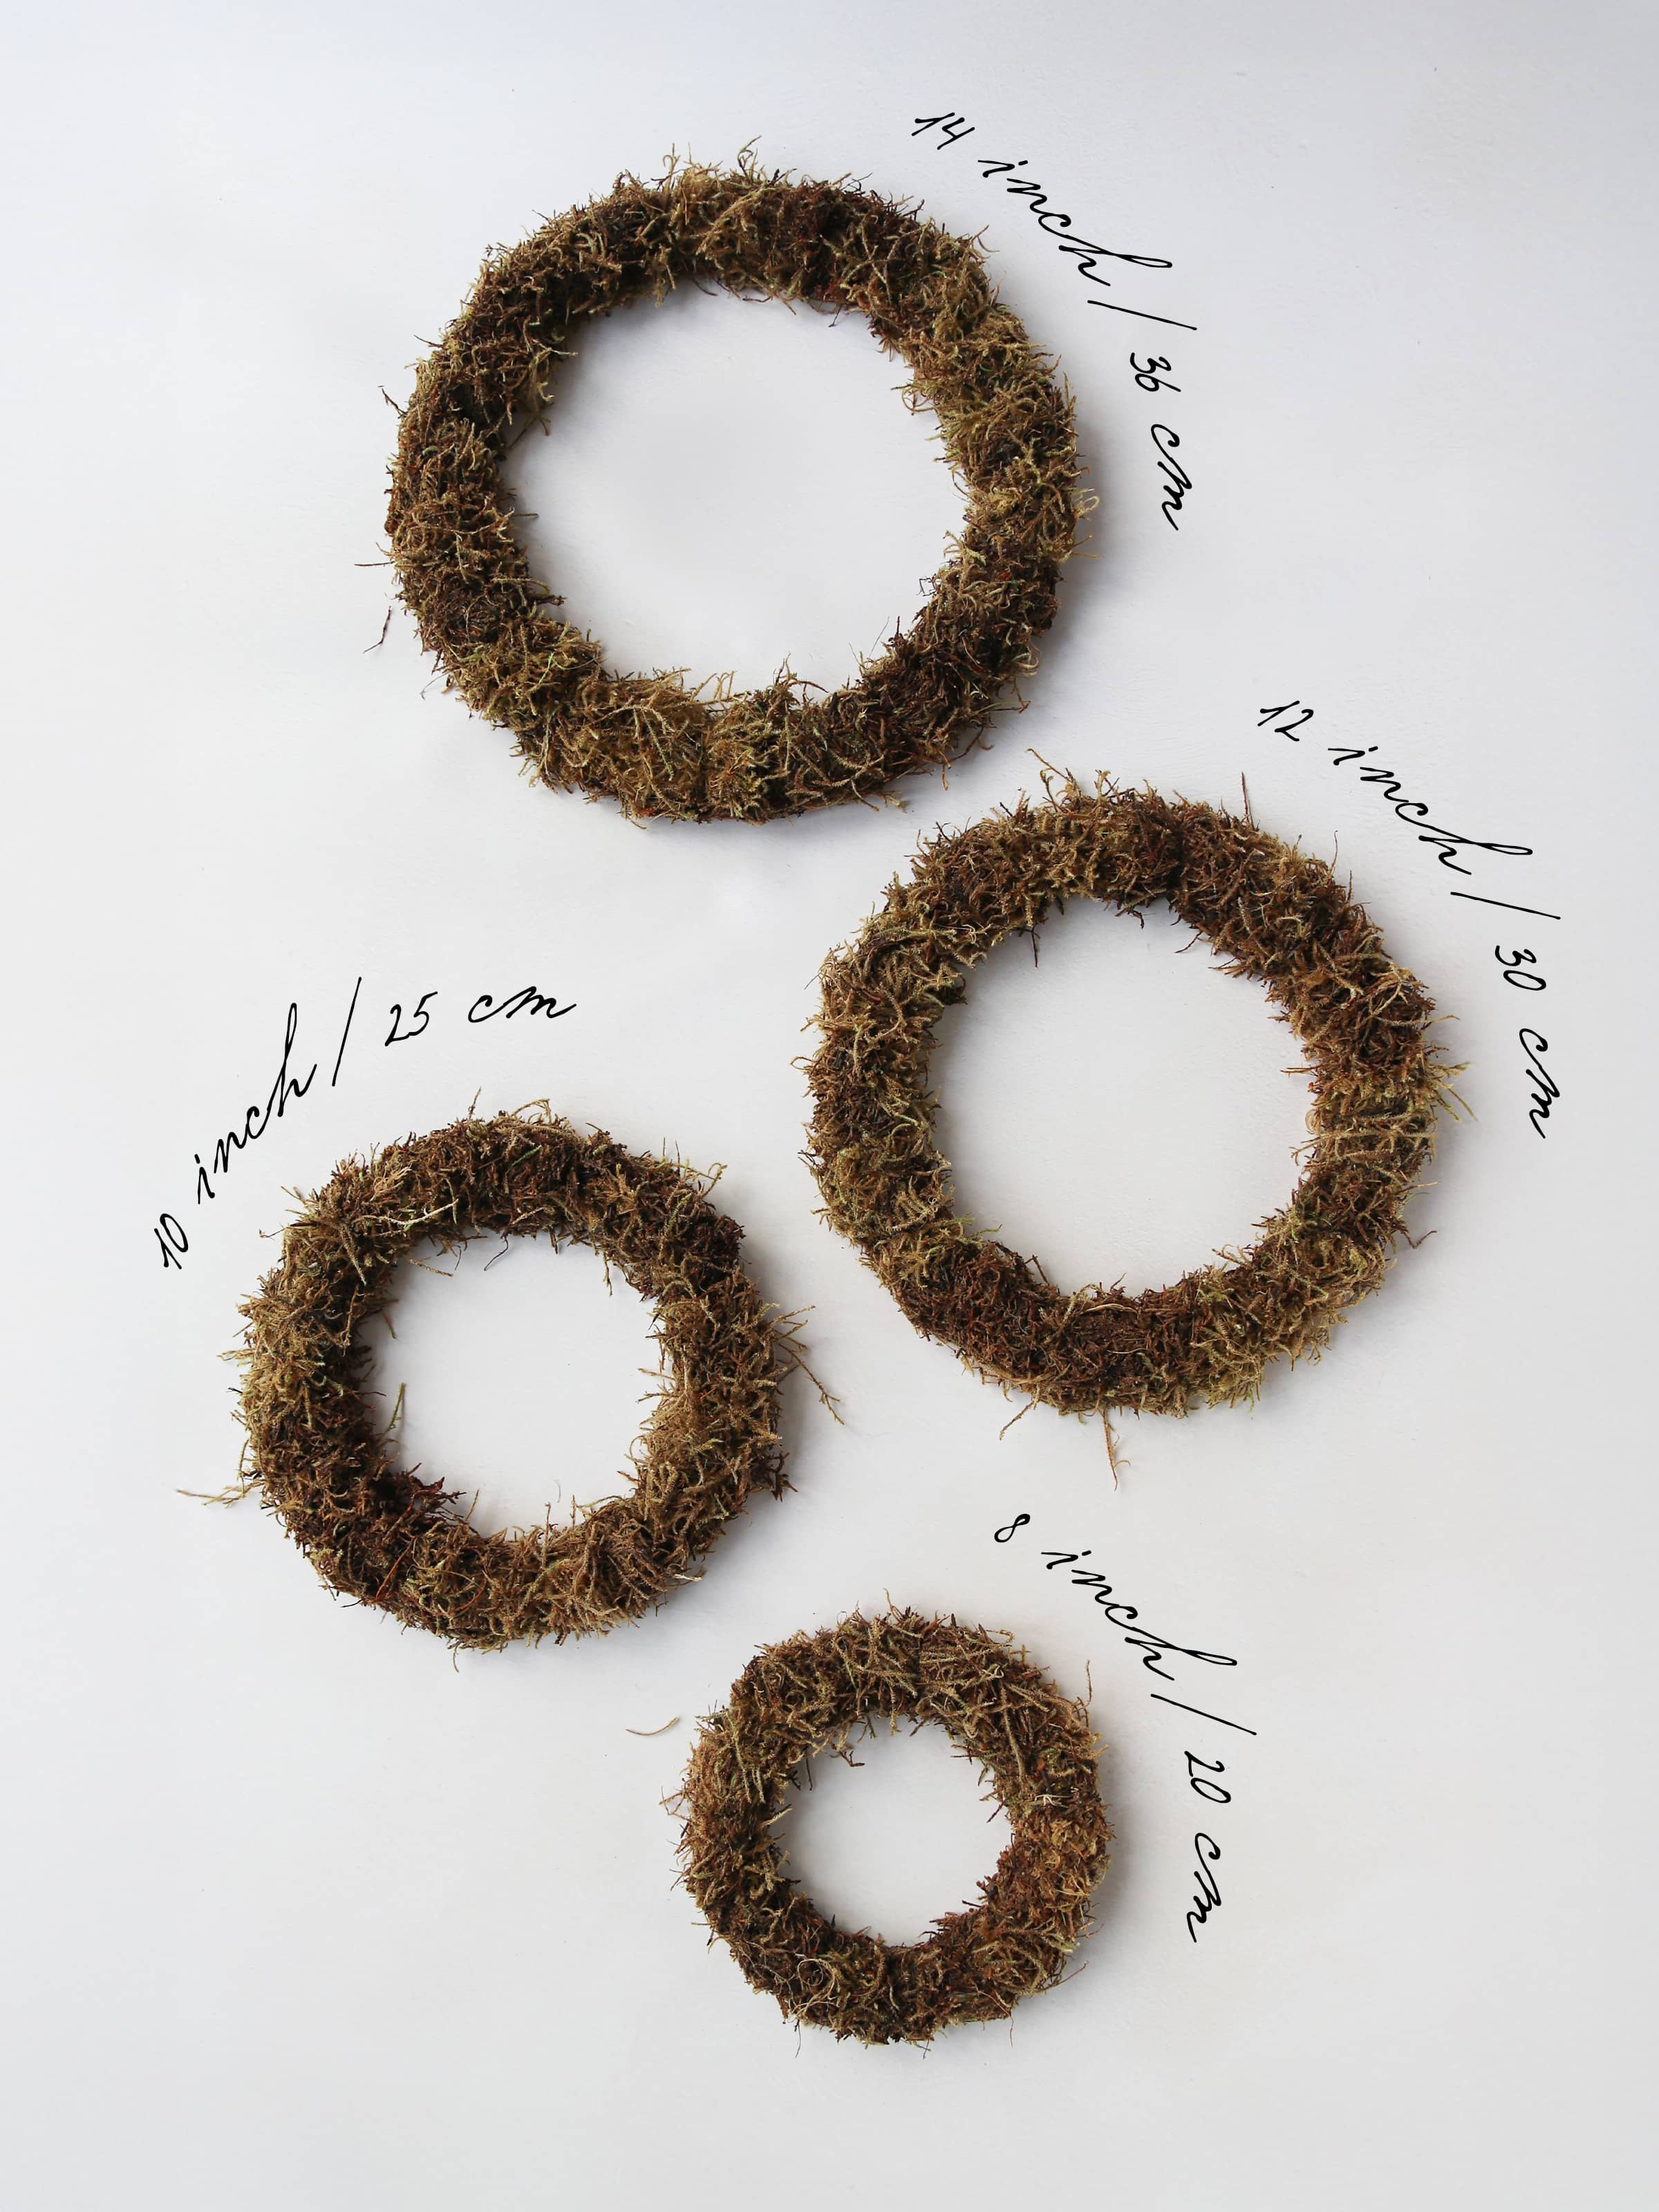
- 1 x copper wire wreath ring
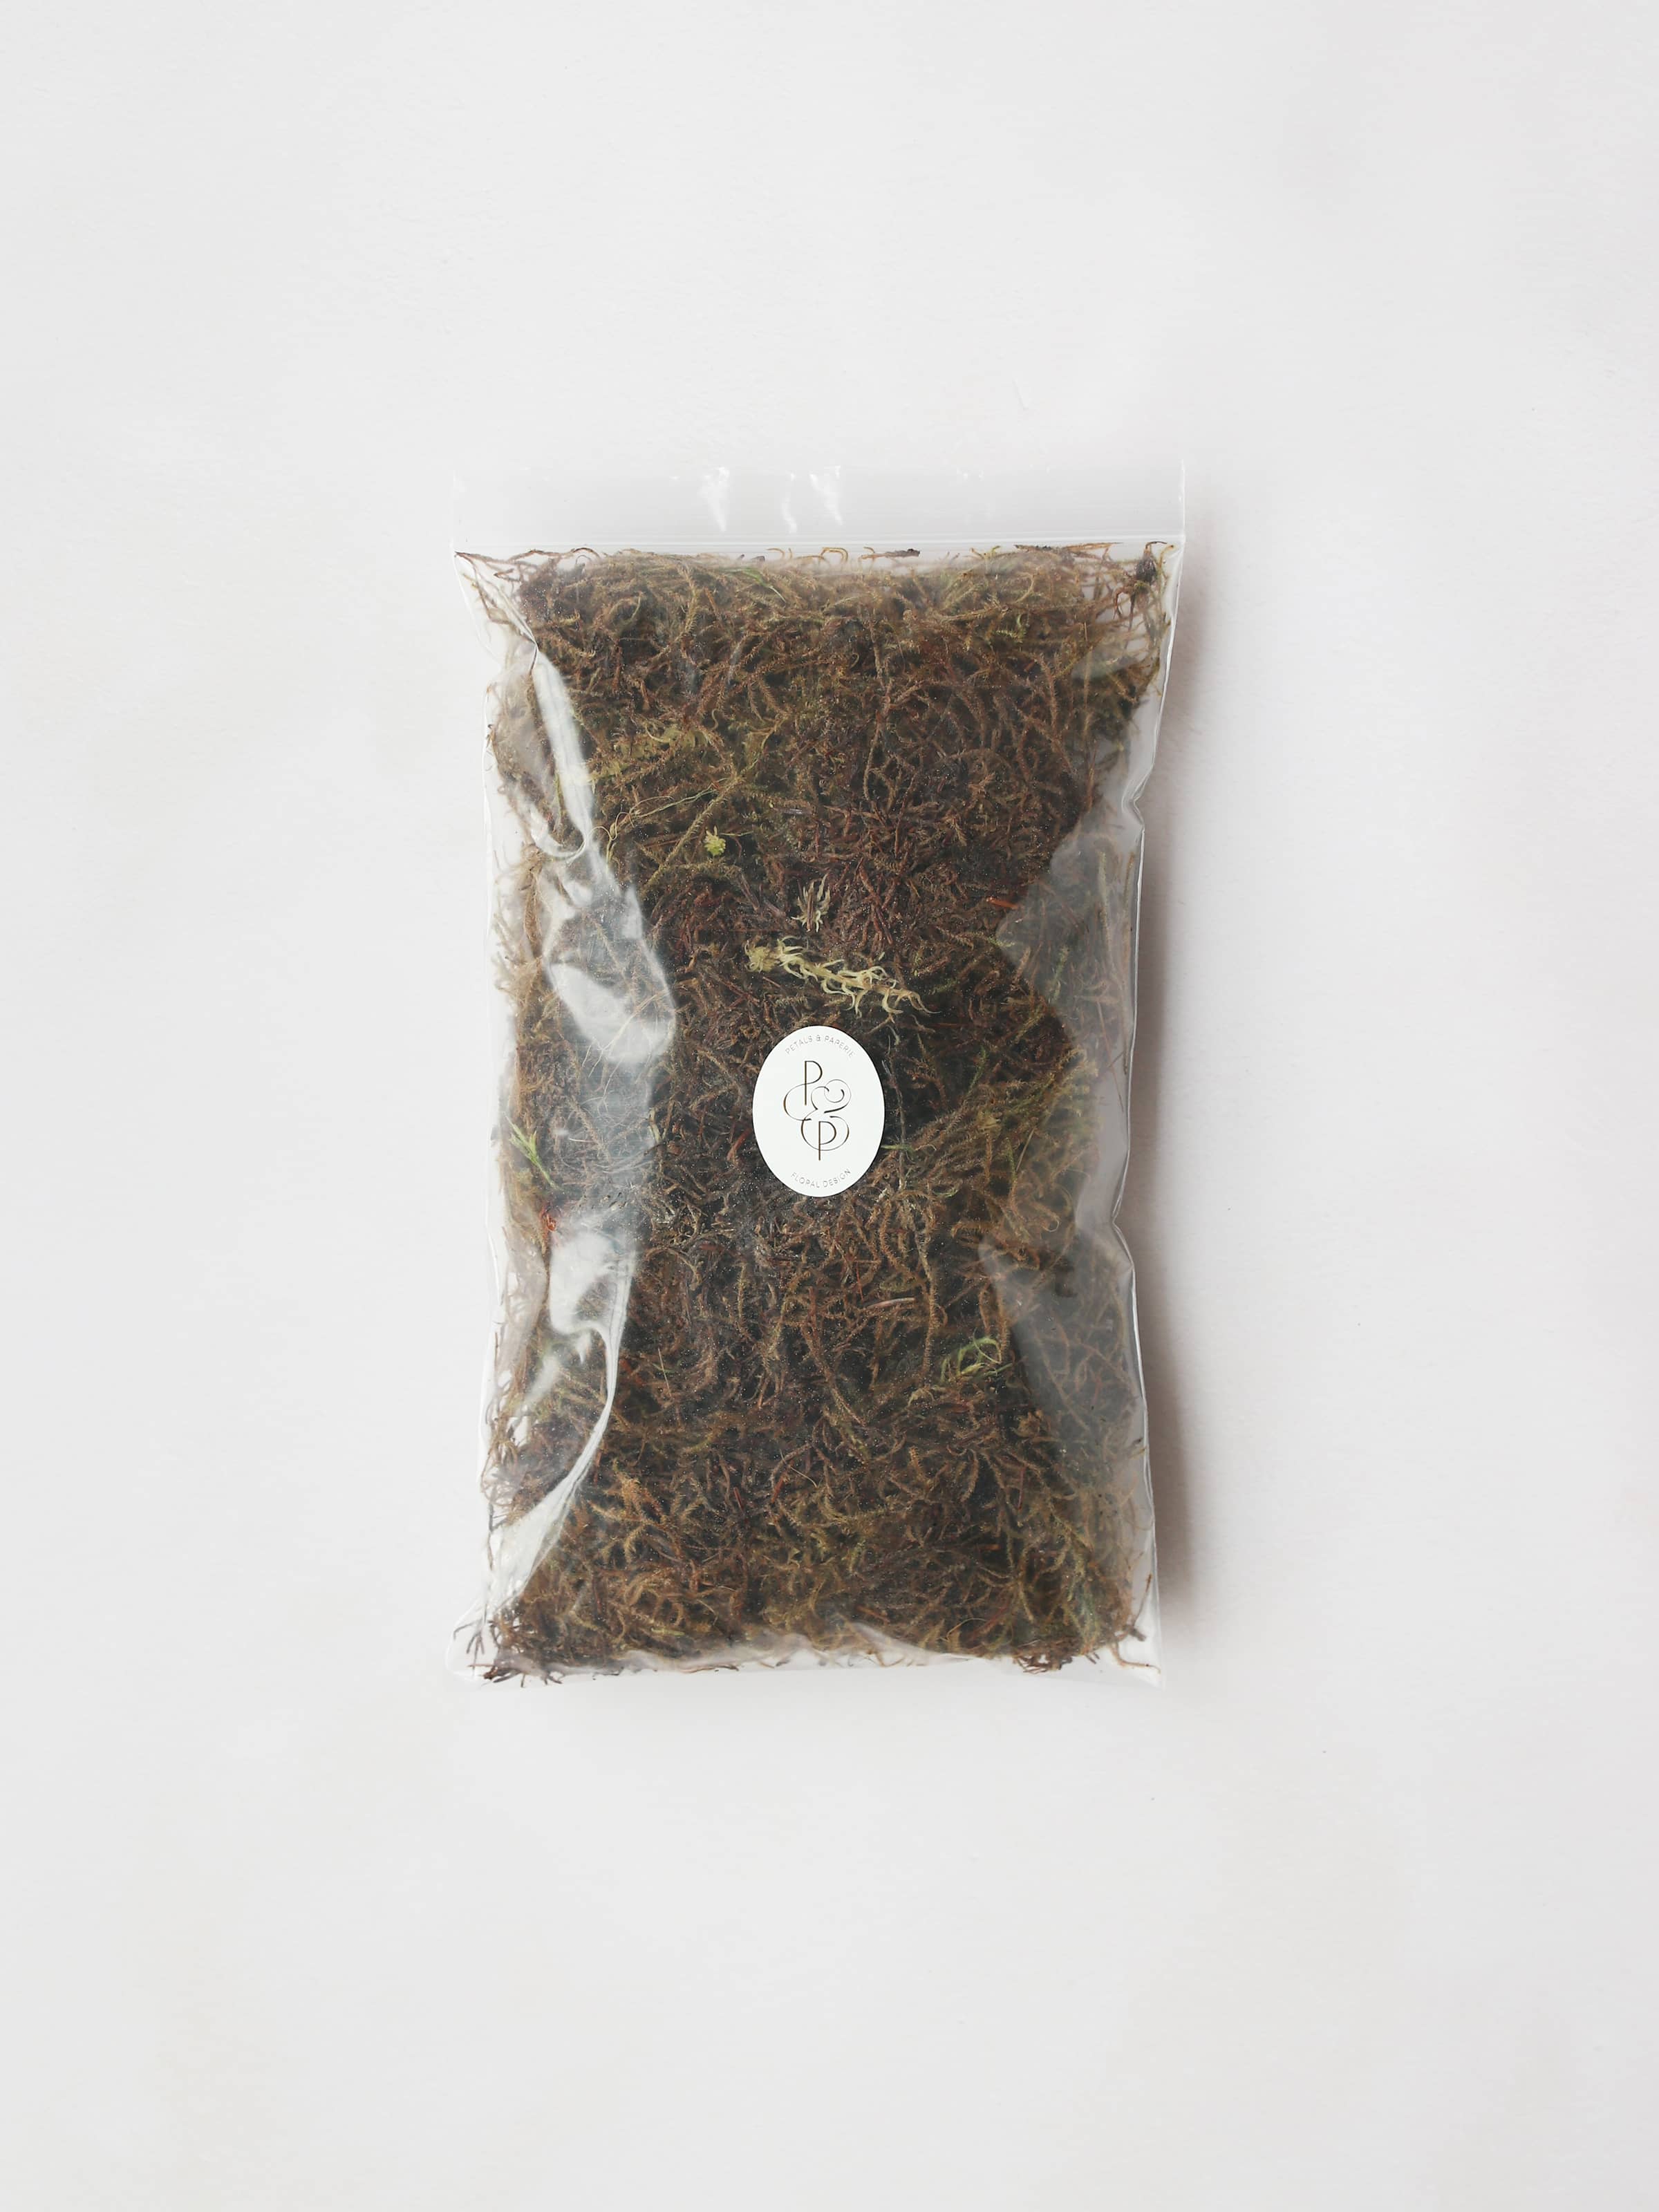
- 1 x bag fresh sphagnum moss
- 3 x sheets of carpet moss
- 1 x spool of reel or ‘binding’ wire
- A selection of fresh, hardy foliage such as Pistache, Ivy, Rosemary, Pittosporum or Eucalyptus
- 3 x spring plants such as Violas or Primrose
- 5-7 small spring bulbs such as Muscari or Teté a Teté
- A selection of flowers that dry well. Such as Limonium, Craspedia, Waxflower
- A pair of secateurs or scissors
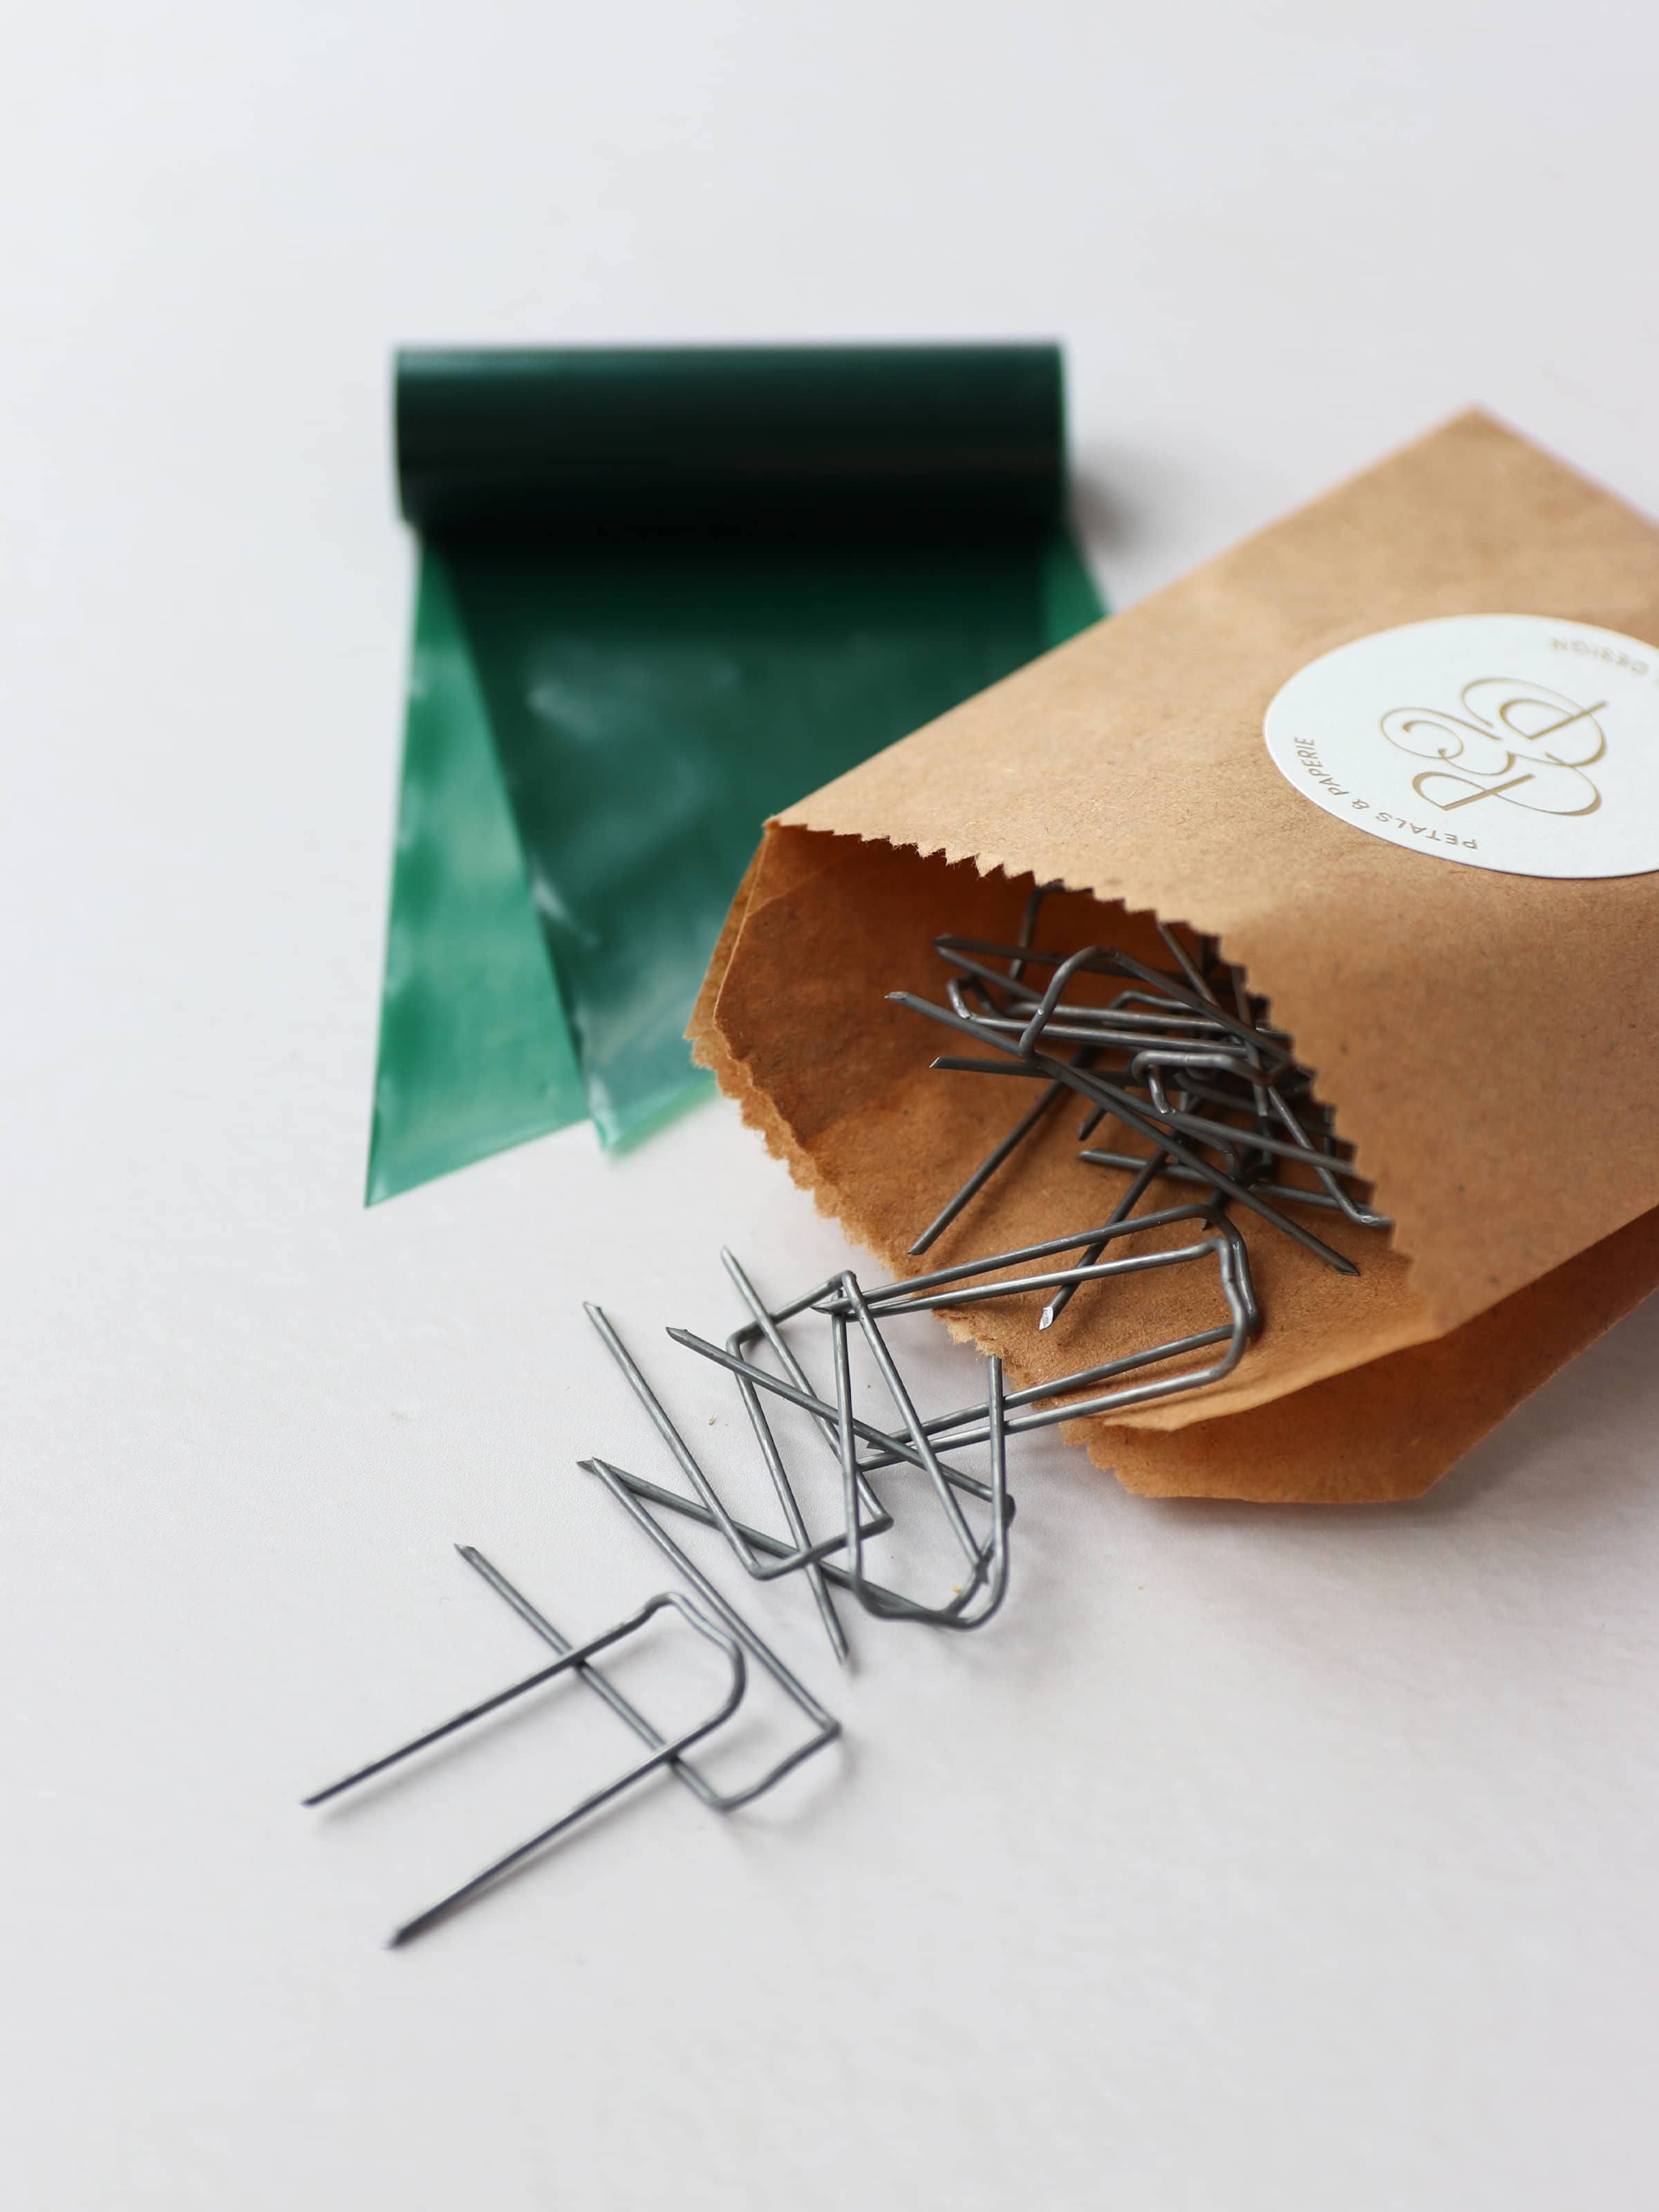
- Wreath backing wrap and mossing pins (optional)
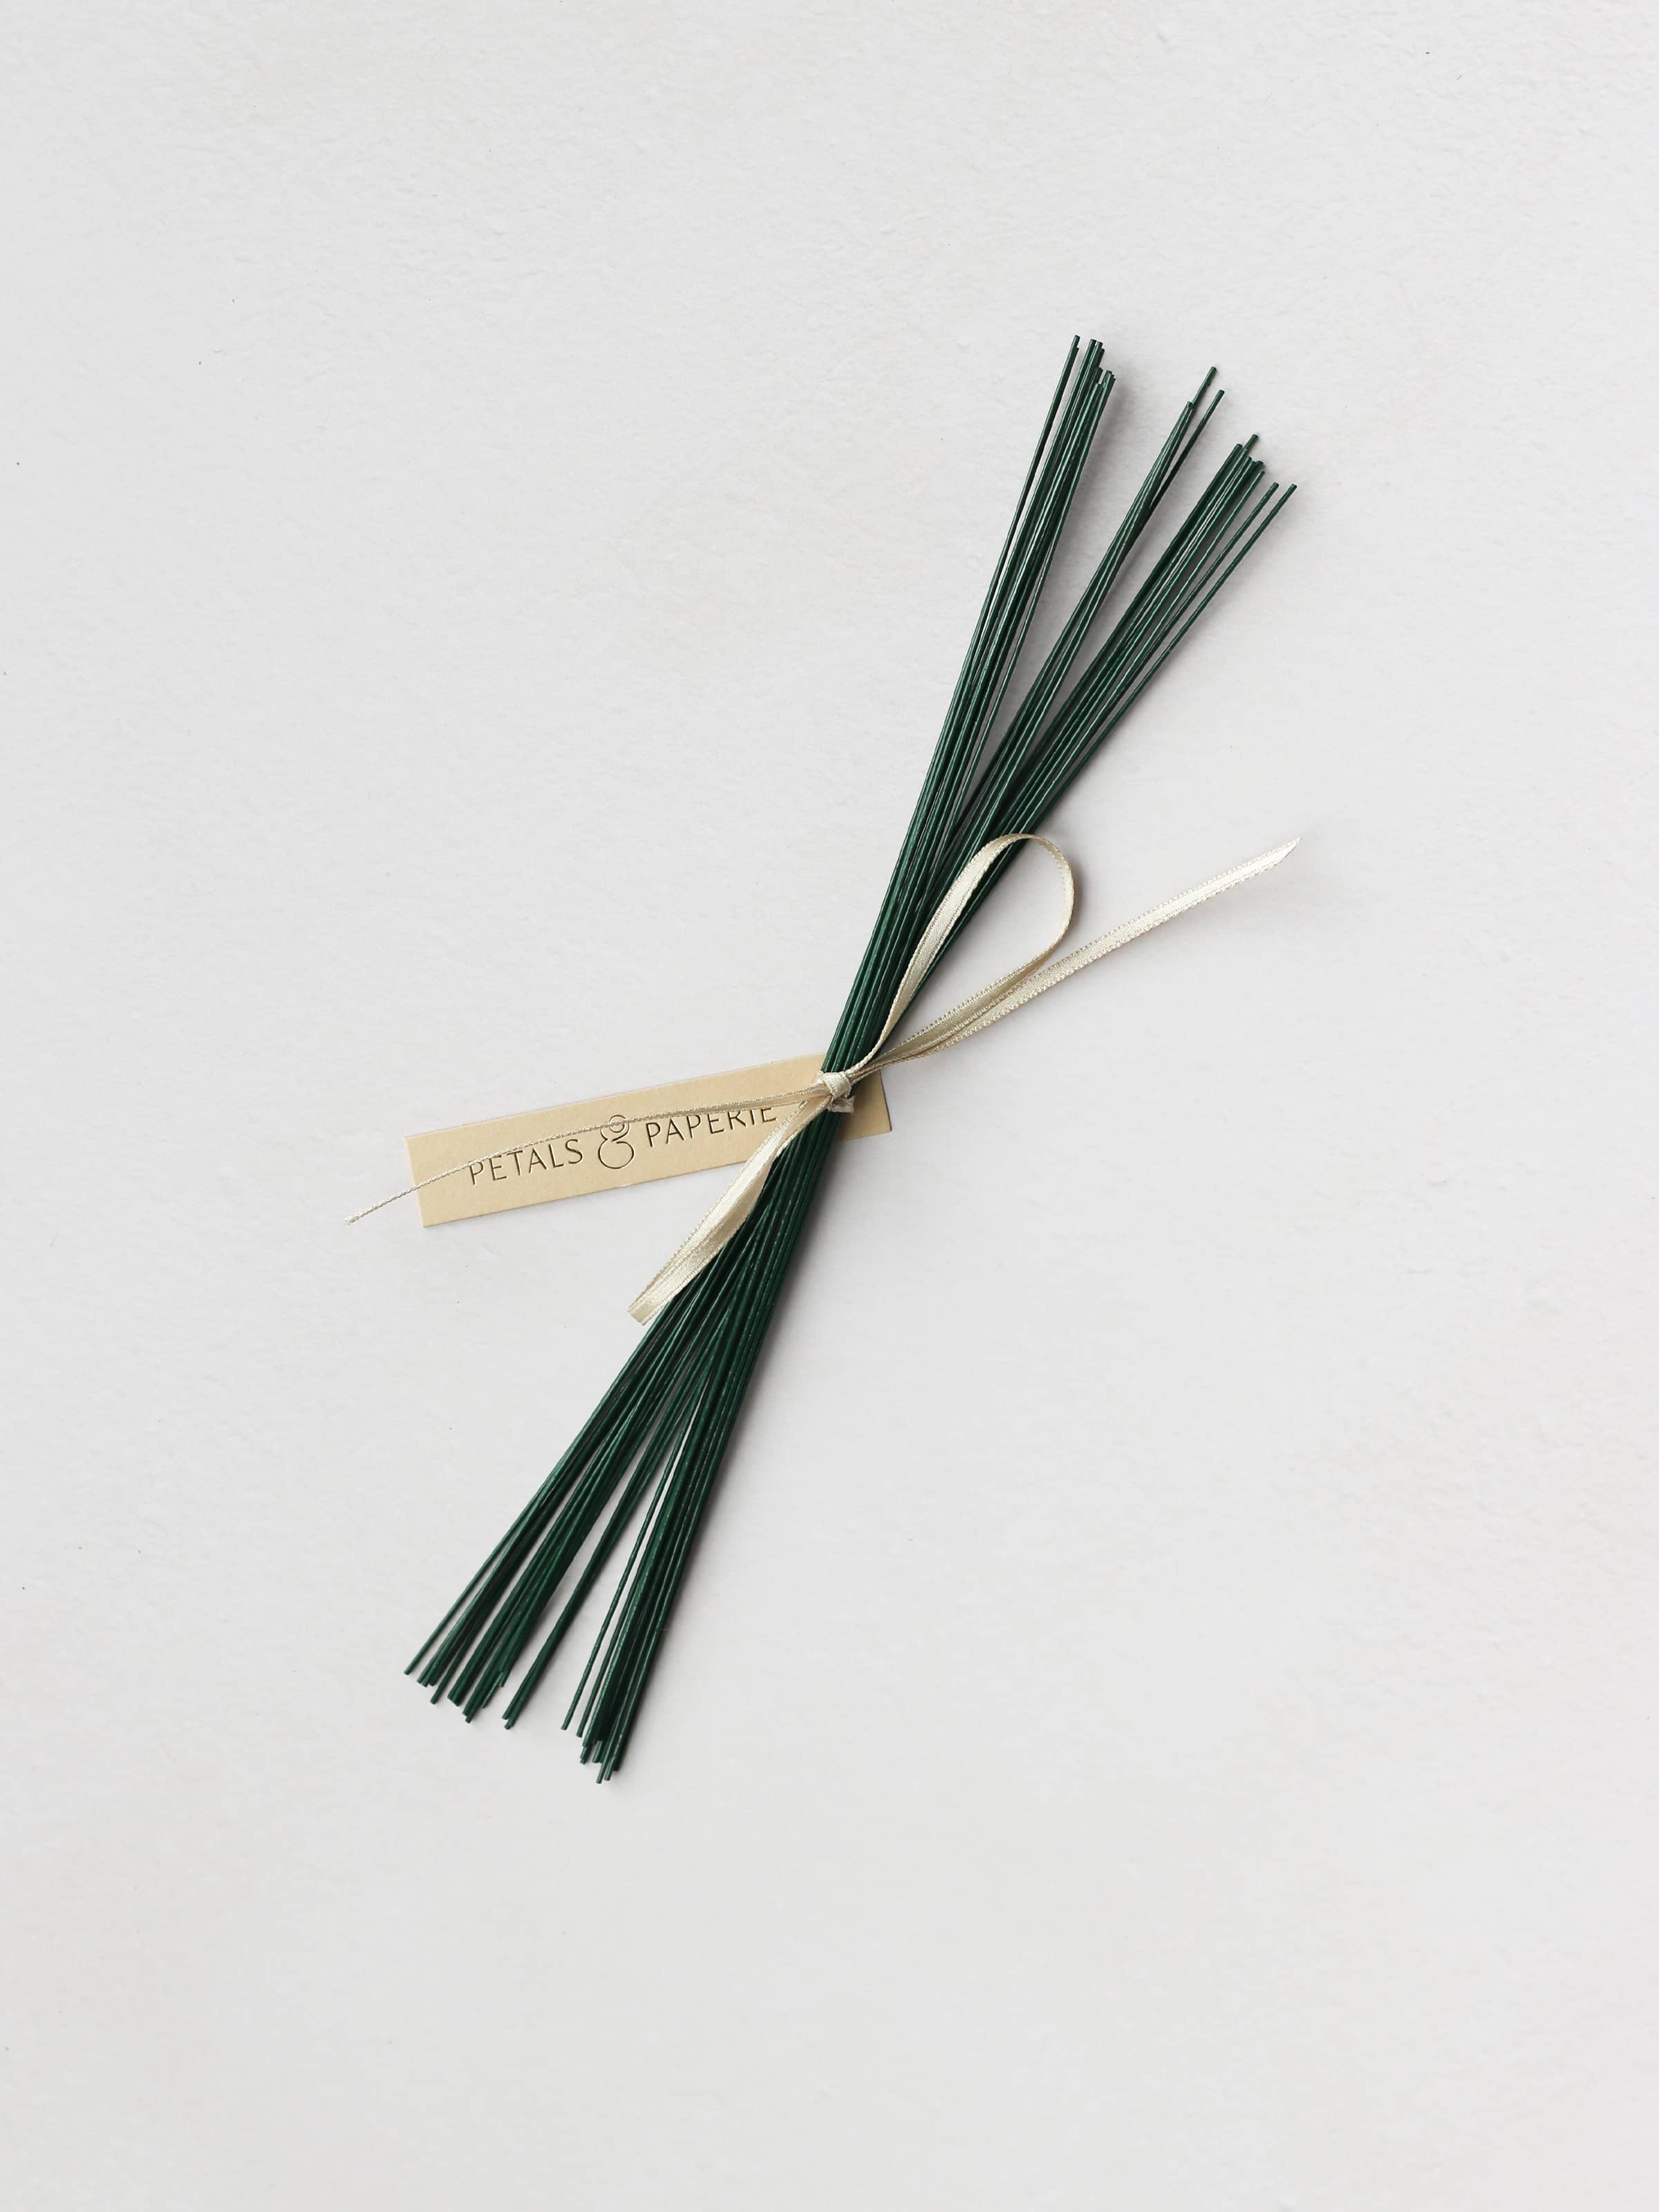
- Florist stub wires
- Decorative ribbon (optional)
Optional
- Protective tablecloth
- Dust pan & brush
- Protective gloves
- Water spray bottle
You might need...


Stage 1: Preparing Your Moss Base & Adding Your Plants
1. Firstly, we prepare the wreath ring by creating a more solid base for our wreath using the reel wire. Take the starting end of your reel wire and twist it around the outer edge of the wreath ring at any point. This is to secure the reel wire to the wreath base.

2. Take the reel wire and begin to wrap it around the copper wreath ring in a zig zag shape, keeping it pulled tight as you work all the way around until you meet the start point. You don’t need to cut the reel wire at this point, leave the reel attached to the wreath for the next step. You are now ready to start adding the moss.

3. Take a small handful of sphagnum moss and mould it into a rough ‘sausage shape’. From there, place the shaped moss bundle on the wreath ring, directly where your reel wire spool is. Wrap the reel wire tightly around the moss and ring, securing it to the wire ring. You may want to go around with the wire twice on each handful of moss.

4. After you have added your first handful of moss, it's time to add the first plant to the wreath ring. If you have purchased one of our DIY kits, your plants will come pre-wrapped in carpet moss parcels. If you are following along at home with your own materials, you will need to wrap your plants in carpet moss and secure with wire first.

5. Add another handful of moss, pushing it up against the plant that you have just added so that there are no gaps. Wrap your reel wire around the moss a couple of times to secure.

6. Add another plant directly next to the previous section of moss. Secure to the wire frame using your reel wire. Keep the reel wire pulled nice and tightly so that your plant is securely attached to the wreath ring.

Continue around the frame, alternating sections of moss and plants until you close the ring.

7. You can now cut off your reel wire from the spool. Cut the wire, leaving a small length.

Wrap/loop the end of the reel wire around the outer edge of the wreath frame a couple of times (as if you were threading a thread with a needle) and then push the end of the wire into the back of the moss.

Stage 2: Prepare Your Foliage
8. Take your selection of fresh foliage and start to trim each stem down into smaller pieces. You’re aiming for pieces of foliage that are roughly 10cm in length.


9. Organise the foliage into groups.

10. Do the same for the cut flowers, cutting each stem down into smaller stems of around roughly 10cm in length.


11. Organise the flowers into groups and then put all of your bundles of foliage and flowers to one side. We are now ready to start adding the foliage and flowers to the wreath.

Stage 3: Add Your Foliage & Flowers
12. Whereas in the Christmas wreath tutorial we created bundles of foliage that were secured to the wreath with the reel wire, we are going to be pushing individual stems of foliage and flowers directly into the moss one at a time.
On each stem of foliage, you want to make sure that you cut the base of the stem at a sharp angle - this helps it to push into the moss easily. You will also need to strip any foliage on the lower part of the stem, so that again it glides into the moss more easily without catching on the lower leaves. Both of these steps are really important.


13. Whereas in the Christmas wreath tutorial we created bundles of foliage that were secured to the wreath with the reel wire, we are going to be pushing individual stems of foliage and flowers directly into the moss one at a time.
On each stem of foliage, you want to make sure that you cut the base of the stem at a sharp angle - this helps it to push into the moss easily. You will also need to strip any foliage on the lower part of the stem, so that again it glides into the moss more easily without catching on the lower leaves. Both of these steps are really important.
14. Before you start adding foliage to your wreath, decide whether you want to go around the wreath ring in an anticlockwise or clockwise direction. Then, start to add the first type of foliage into your wreath. I would recommend working your way around your wreath with one type of foliage and then move on to the next.
Push your foliage stems as far into the moss as you can so that the stem feels secure. Remember to add foliage to both the inside and outside of the wreath ring.


15. Continue to do the same with the other types of foliage in your DIY wreath kit, distributing the stems evenly around the wreath ring until you have used most of your foliage.
You may want to save a few stems of foliage to fill in any gaps at the end.

16. Next move on to adding your cut flowers, this could be the Limonium, Waxflower or Solidago in your kit. As you did with your foliages, make sure you cut each stem that you add with a sharp angle. Evenly distribute your flowers around the wreath, following the same direction as before. Do this with each variety of flower provided.


Stage 4: Add The Spring Bulbs
17. Take the bulbs provided in your DIY kit (if you are sourcing your own bulbs, take the bulbs that you have purchased). Remove the bulb group from the pot and then gently break the group of bulbs apart so the bulbs are separated individually. Push one of the wooden sticks into each of the bulbs provided in your kit. There should still be a section of the stick protruding from the bottom of the bulb.
Take your bulb and then push the other end of the stick into the moss base of the wreath.


18. Next it's time to add the dried bunny tails and birch branches.
Cut the bunny tails and birch branches into smaller stems with a sharp angle on the end of the stem. Work your way around the wreath adding the bunny tails and birch branches. I would recommend keeping the birch branches a little longer than the rest of the stems so that they give a whimsical, spring-like feel to the wreath.


Stage 5: Add the Ribbon
19. Finally, add your ribbon to your wreath. Fold the ribbon provided in half and loop a stub wire around the ribbon, twist the two wires together at the base of the ribbon/bow and then push the wires through the wreath in the same way you did the decorations.


Stage 6: Add the Wire Hanging Loop
20. To add the wire hanging hook to your wreath, stand your wreath up on it's end so you can see the back.

Push one of your stub wires through the moss and loop it around the outside copper wire of the wreath so you create a hairpin shape around the wreath base.

Twist the two ends of the wire together, leaving enough space so that you create a circular loop in the wire. This is the loop that your wreath will hang from.

Trim any excess wire at the end.

Twist the loop around the wreath base so that the ends are hidden in the moss and you can pick up the wire loop with your finger.
Stage 7: Add The Wreath Backing Wrap
Adding a wreath backing to your wreath is not a compulsory step, but I would recommend adding one in order to protect the paintwork on your door from any sharp wires or stems. It can also be helpful if your door has a porous paint finish as the back of the wreath will be damp to touch.
21. Take your wreath and gently tip it up so that it is sitting on it's end. Take the roll of wreath wrap provided and attach the end of the roll to the back of the wreath (towards the outer edge of the ring) using two of the mossing pins provided.

22. Fold the wreath wrap over itself towards the inside of the wreath ring and secure (at the inner edge of the ring) with a mossing pin.

23. Work in a zig-zag motion across the wreath base, pinning the wreath wrap down at each point with a mossing pin. Continue until the whole ring is covered.

24. Your wreath is now complete! Be sure to follow the recommend care instructions in your kit and enjoy your wreath for weeks to come!

Latest Posts
How to Make a Living Spring Easter Wreath | A Step-by-Step Guide
Join me for a detailed, real-time video tutorial on how to create a beautiful fresh spring living wreath using one of my DIY Spring Wreath Kits. In the video, I will guide you through step-by-step as you create a luxury spring wreath for your home using a mix of seasonal plants, bulbs and cut flowers.

Making Your Own DIY Fresh Christmas Wreath | A Step-by-Step Guide
An in-depth article with an accompanying real-time video that guides you through a step-by-step wreath-making tutorial on how to create a luxury Christmas wreath in the comfort of your own home. You can purchase one of my DIY Christmas Wreath Kits which includes all the materials you will need to follow the tutorial.

Understanding Funeral Flowers: A Guide to Funeral Tributes
For most of us, this may be our first time ordering funeral flowers, and knowing what to order or send in a time of mourning can be confusing in an already difficult time. So I’ve put together a quick guide to understanding funeral flowers.